Showing posts with label snack. Show all posts

Saturday, August 13, 2011

Not Your Normal Bean Dip

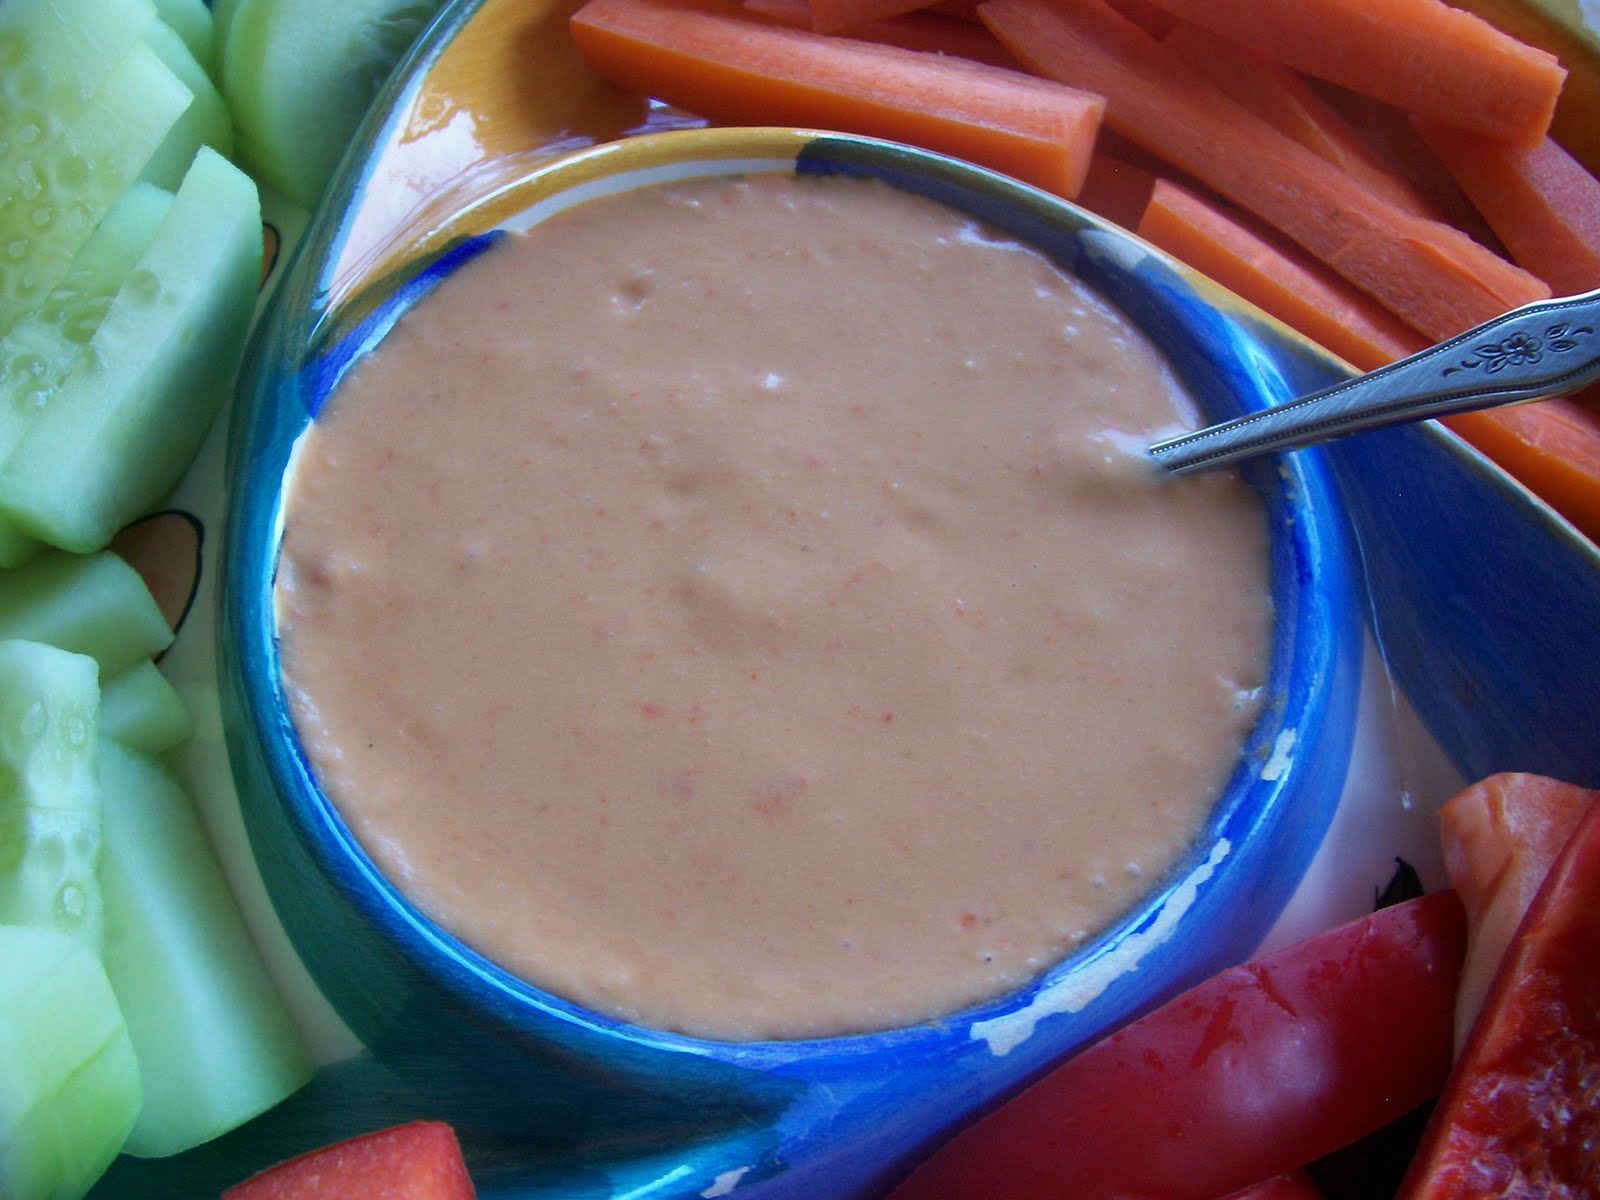
For dinner the other evening, I cut up some fresh veggies. The girls normally balk at just plain old veggies so I thought I would whip out some kind of a dip. What came to mind is hummus. Now, I don't know if I can technically call this hummus or not since it is not made of chickpeas so bean dip it is.

I just mentally ran through what I had around, including the freezer, and in the freezer I had great northern beans. When I cook beans, I take the whole bag of dried beans and cook them all at once. Then I freeze whatever I didn't use in 2 cup portions, which is about the same amount as 1 can of beans from the store. So, white beans it was.

I pulled them out and threw them in the microwave to thaw, along with a bunch of red bell peppers that I had already cut up. After they were thawed, I dumped them in the blender with some sunflower butter (again, what I had), lemon juice, cumin, paprika, salt, and pepper. I pureed it all up and served it.

Once again, the girls wouldn't eat it even though 2 of them said it was good. I don't know. I will just keep trying, I guess. The next "try" will be to see if hummus freezes and thaws since I can't eat all of this by myself and I don't think my husband will help.

Oh, here's the actual recipe!

Not Your Normal Bean Dip -
  • 2 cups OR 1 15oz can any kind of white bean
  • 1/2 sliced red bell pepper
  • 1/2 lemon, juice only OR about 2 T lemon juice
  • 2 T sunflower butter (you could probably do peanut butter or tahini instead, but have not tried that)
  • 1 - 2 tsp cumin, to taste
  • 1 - 2 tsp paprika, to taste
  • 1 tsp salt
  • 1/2 tsp ground black pepper


Blend it all up and use as a dip or spread. Eat up!

Monday, August 1, 2011

Egg Substitutes

Did you ever get up and decide to work on a recipe only to read eggs in the list and know you didn't have any? Used to be that I would put that recipe aside. Now, I know better. Since DD number 2 has been diagnosed with an egg allergy, I have found out that there are actually a huge number of possible substitutes.

These Snickerdoodles were made with arrowroot flour.
I have used several of them. In fact, the cookies in the oven right now used the arrowroot flour substitute. You will do better if you have an idea of the taste of what you are making is like - mainly sweet or savory. I am going to be making cupcakes tomorrow using an egg substitute. I will let you know how that turns out.

For now, here is the list that I have compiled of possible substitutes for eggs.


Use one of the following bullets  for each egg, up to 3 eggs, paying attention to the type of dish you are making and the flavors that will compliment it.
  • 1 tsp baking powder + 1 T liquid + 1 T vinegar
  • 1 tsp yeast dissolved in ¼ C warm water
  • 1 ½ T water + 1 ½ T oil + 1 tsp baking powder
  • 1 pkg gelatin + 2 T warm water; mix just prior to use
  • 2 T arrowroot flour
  • 2 T applesauce + ¼ tsp baking powder
  • ½ banana (medium, mashed) + ¼ tsp baking powder
  • 1 T vinegar + 1 tsp baking soda
  • 2 T lemon juice + 1 tsp baking soda
  • 1 T cornstarch + 3 T water
These have worked really well for me. I hope they work just as well for you. Happy baking.

Wednesday, July 27, 2011

Yummy but no takers...plus a recipe

A week or so ago, I bought two large fresh beets at the store intending to roast them for dinner one night. I didn't get around to it until I saw this recipe from the Weelicious site for a hummus dip. I thought it would be perfect. Bright pink!! What more could these 3 girls want? Pink food would fit right in. Boy, was I wrong about the girls.

But let me put this all in order. I made the beets Monday night for dinner. If you are going to make this, let me give you a tip...beets do not microwave cleanly! I thought that since it was 105 yesterday evening, I would do them in the microwave instead of roasting the beets in the oven. Big mistake, kind of.

Here's the recipe and what I did: I cut each one (I did two so we could eat one for dinner) into about 8 pieces and put them in a microwave safe dish. I added a couple of tablespoons of water, some diced garlic, and a few dashes of dried rosemary. I popped that into the microwave for 10 minutes, planning to check it but expecting it to need about 10 more minutes (for a total of about 20). Well, when I checked it, the water was a beautiful pink and boiling out all over the microwave. I decided that since it was already messy, I might was well finish. So I did. When I took them out, the pink water was everywhere but wiped up nicely and I now have a very clean microwave.


Anyway, at that point, I let the beets cool a bit and then peeled them with a knife and fork. I cut them into bite-sized pieces and reserved half for the hummus recipe (it ended up being right at a cup). I thought these were super yummy but the girls would not eat them.

Tueday for lunch I figured we would have a Pinkalicious lunch, since they love those books, the beet hummus being the pink part.  I followed the recipe from Weelicious, except that I had done the beets the night before. The food was a beautiful dark pink.

And it was so yummy! But, alas, they would not like it.

You know what that means... I had to eat it. I did not eat it all in one sitting, though that was VERY tempting. I will probably finish it up in two, though. I had bite-sized wheat crackers and bell pepper strips to dip with. So good!

I think this one will have to come back a few times and if they don't ever like it, more for me!!

 Oh well... on to the next attempt.
Enjoy!

Monday, July 25, 2011

Homemade Pop Tarts

Who doesn't love a pop tart? But have you looked at that label!? Name an allergen and it is probably in there, not to mention all those non-healthy things.

My kids love pop tarts but we have hardly ever bought them. Add that to the food allergy diagnosis. Result: all of us cannot eat them so we will not buy them. Somewhere along the line, a friend had shared this recipe with me for making our own pop tarts. (If I knew where it came from, I would link to it. That cook deserves credit! I did have to change it for allergy purposes, though.) It is so good! It ranks right up there with homemade donuts. Make these ahead of time and they are better, though right out of the oven is good, too.

HOMEMADE POP TARTS:
2 C flour
1 tsp salt
1/2 C shortening
5-7 T ice cold water
jams or jellies of your choice
1 C powdered sugar
1 tsp vanilla flavoring
1-2 T water
food coloring of your choice
sprinkles of your choice

Mix the flour, salt, and shortening in a bowl. Add the water and mix until well blended but don't over mix. This will make the dough tough. (Up to this point, this is just your standard pie crust recipe for a double crust pie. So, it is conceivable that you could just buy frozen or refrigerated pie crusts to use. I have not tried this.)

Roll the dough out thin and cut into rectangles that are about 3" x 5". Place about 1 tsp of jam or jelly on one end of each rectangle. Fold it over and seal the edges. (You can either wet the edge with water and press closed or use a fork to crimp the edges closed.) The directions said to place on a cookie sheet covered in foil and sprayed with non-stick spray; I put them on a baking stone. Whatever you have... Bake at 425 for about 10 minutes or until browned. If the edges aren't sealed well, the jelly will drip out so be prepared.

After they are cooled, mix up the powdered sugar, vanilla, food coloring, and water until you have a slightly liquid icing. Lay the pop tarts on a cooling rack and drizzle the icing over them. Add the sprinkles and you are ready to eat.

My only other bit of advice: be prepared to either make them again for the next day or be prepared to say no. These are yummy and addictive. Everyone will love them and want more.

Have a great breakfast, treat, or dessert!